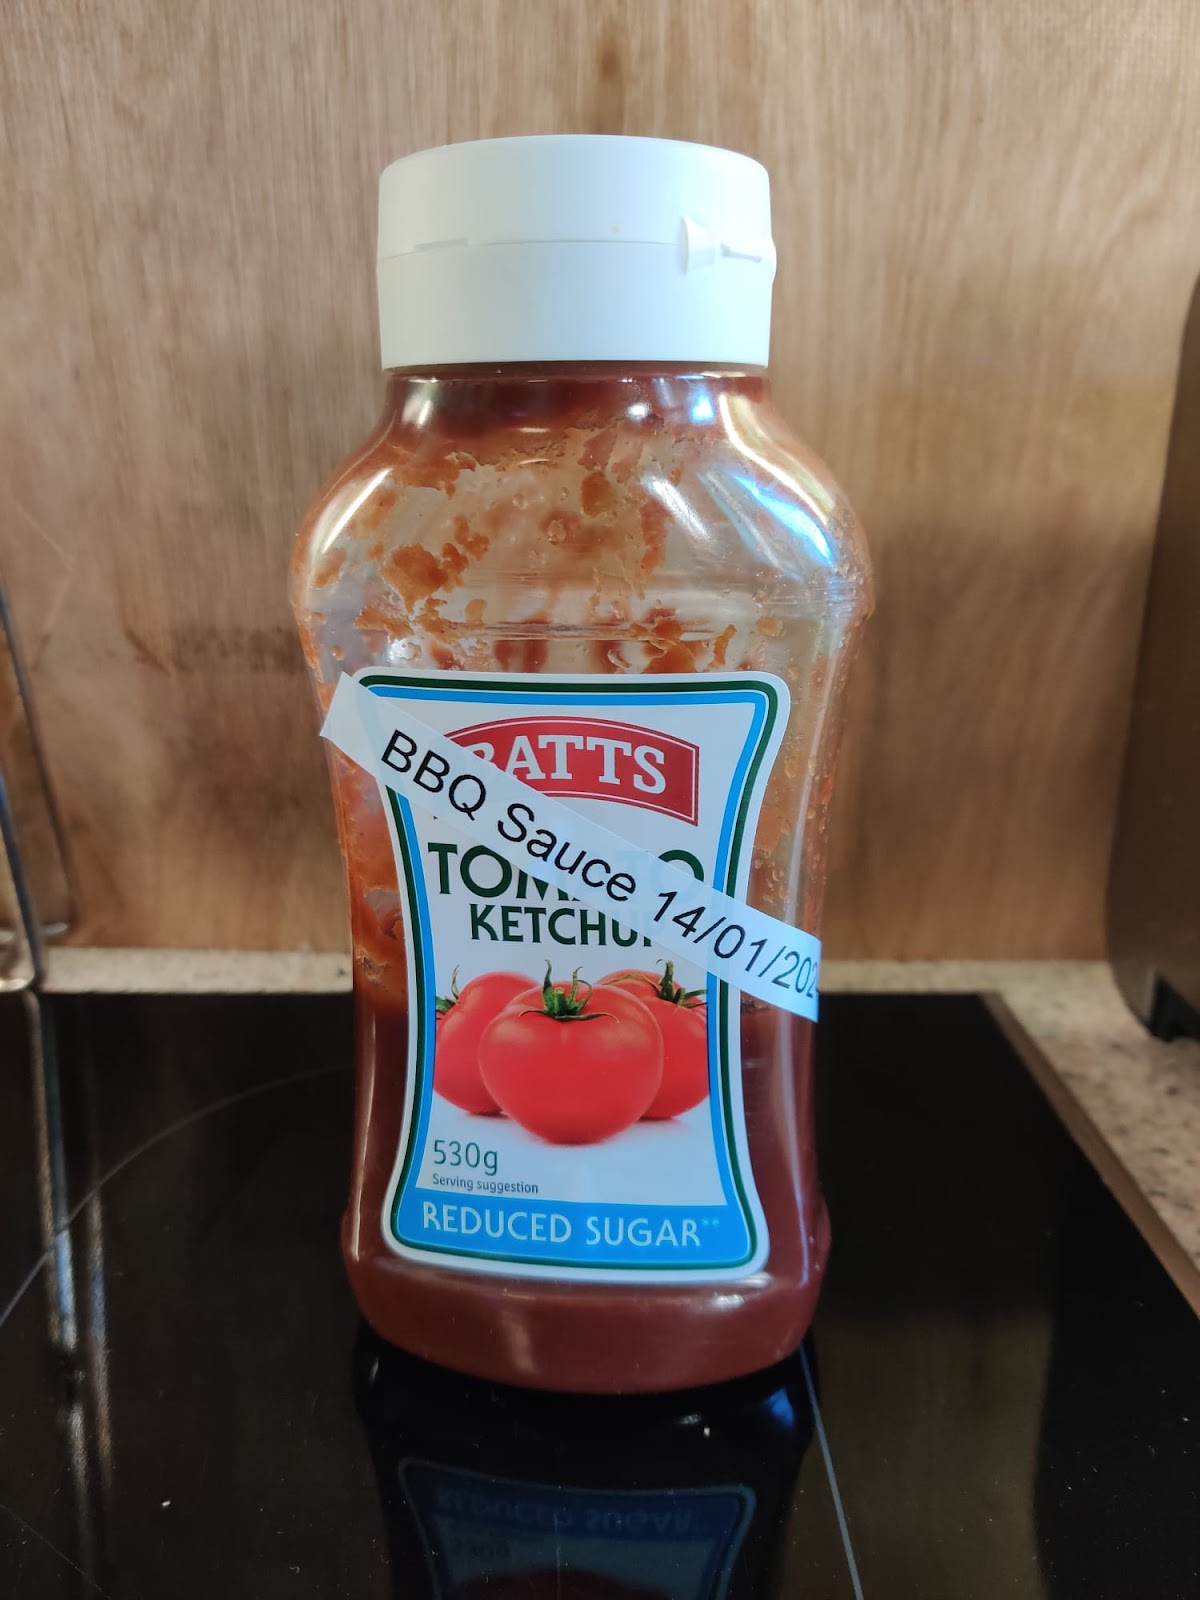
This is based on the Dean Brothers BBQ Sauce recipe
It is not low in calories but you don't use much, so happy days.
This is based on the Dean Brothers BBQ Sauce recipe
It is not low in calories but you don't use much, so happy days.
What's it all about?
3D printing, also known as additive manufacturing, is a process of creating three-dimensional objects from a digital model. It involves building up layers of material to form the final product. Here’s a brief rundown of how it works:
Design: You start with a 3D model, which can be created using computer-aided design (CAD) software or downloaded from online repositories.
Slicing: The 3D model is then sliced into thin horizontal layers using slicing software. This step generates a file that guides the 3D printer. I used Ultimaker Cura, which is free. (Windows and Linux versions)
Printing: The 3D printer reads the file and begins the printing process by laying down material layer by layer. Common materials used include plastic, resin, metal, and even food ingredients.
Post-processing: After printing, the object may need additional work, like removing support structures, sanding, or painting.
3D printing is used in a wide range of applications, from prototyping and manufacturing to medical implants and even food production. It’s known for its ability to create complex shapes and customized items efficiently.
Creality Ender 5 Pro 3D Printer


I added some of that non-slip mat stuff to place the baseplate on.

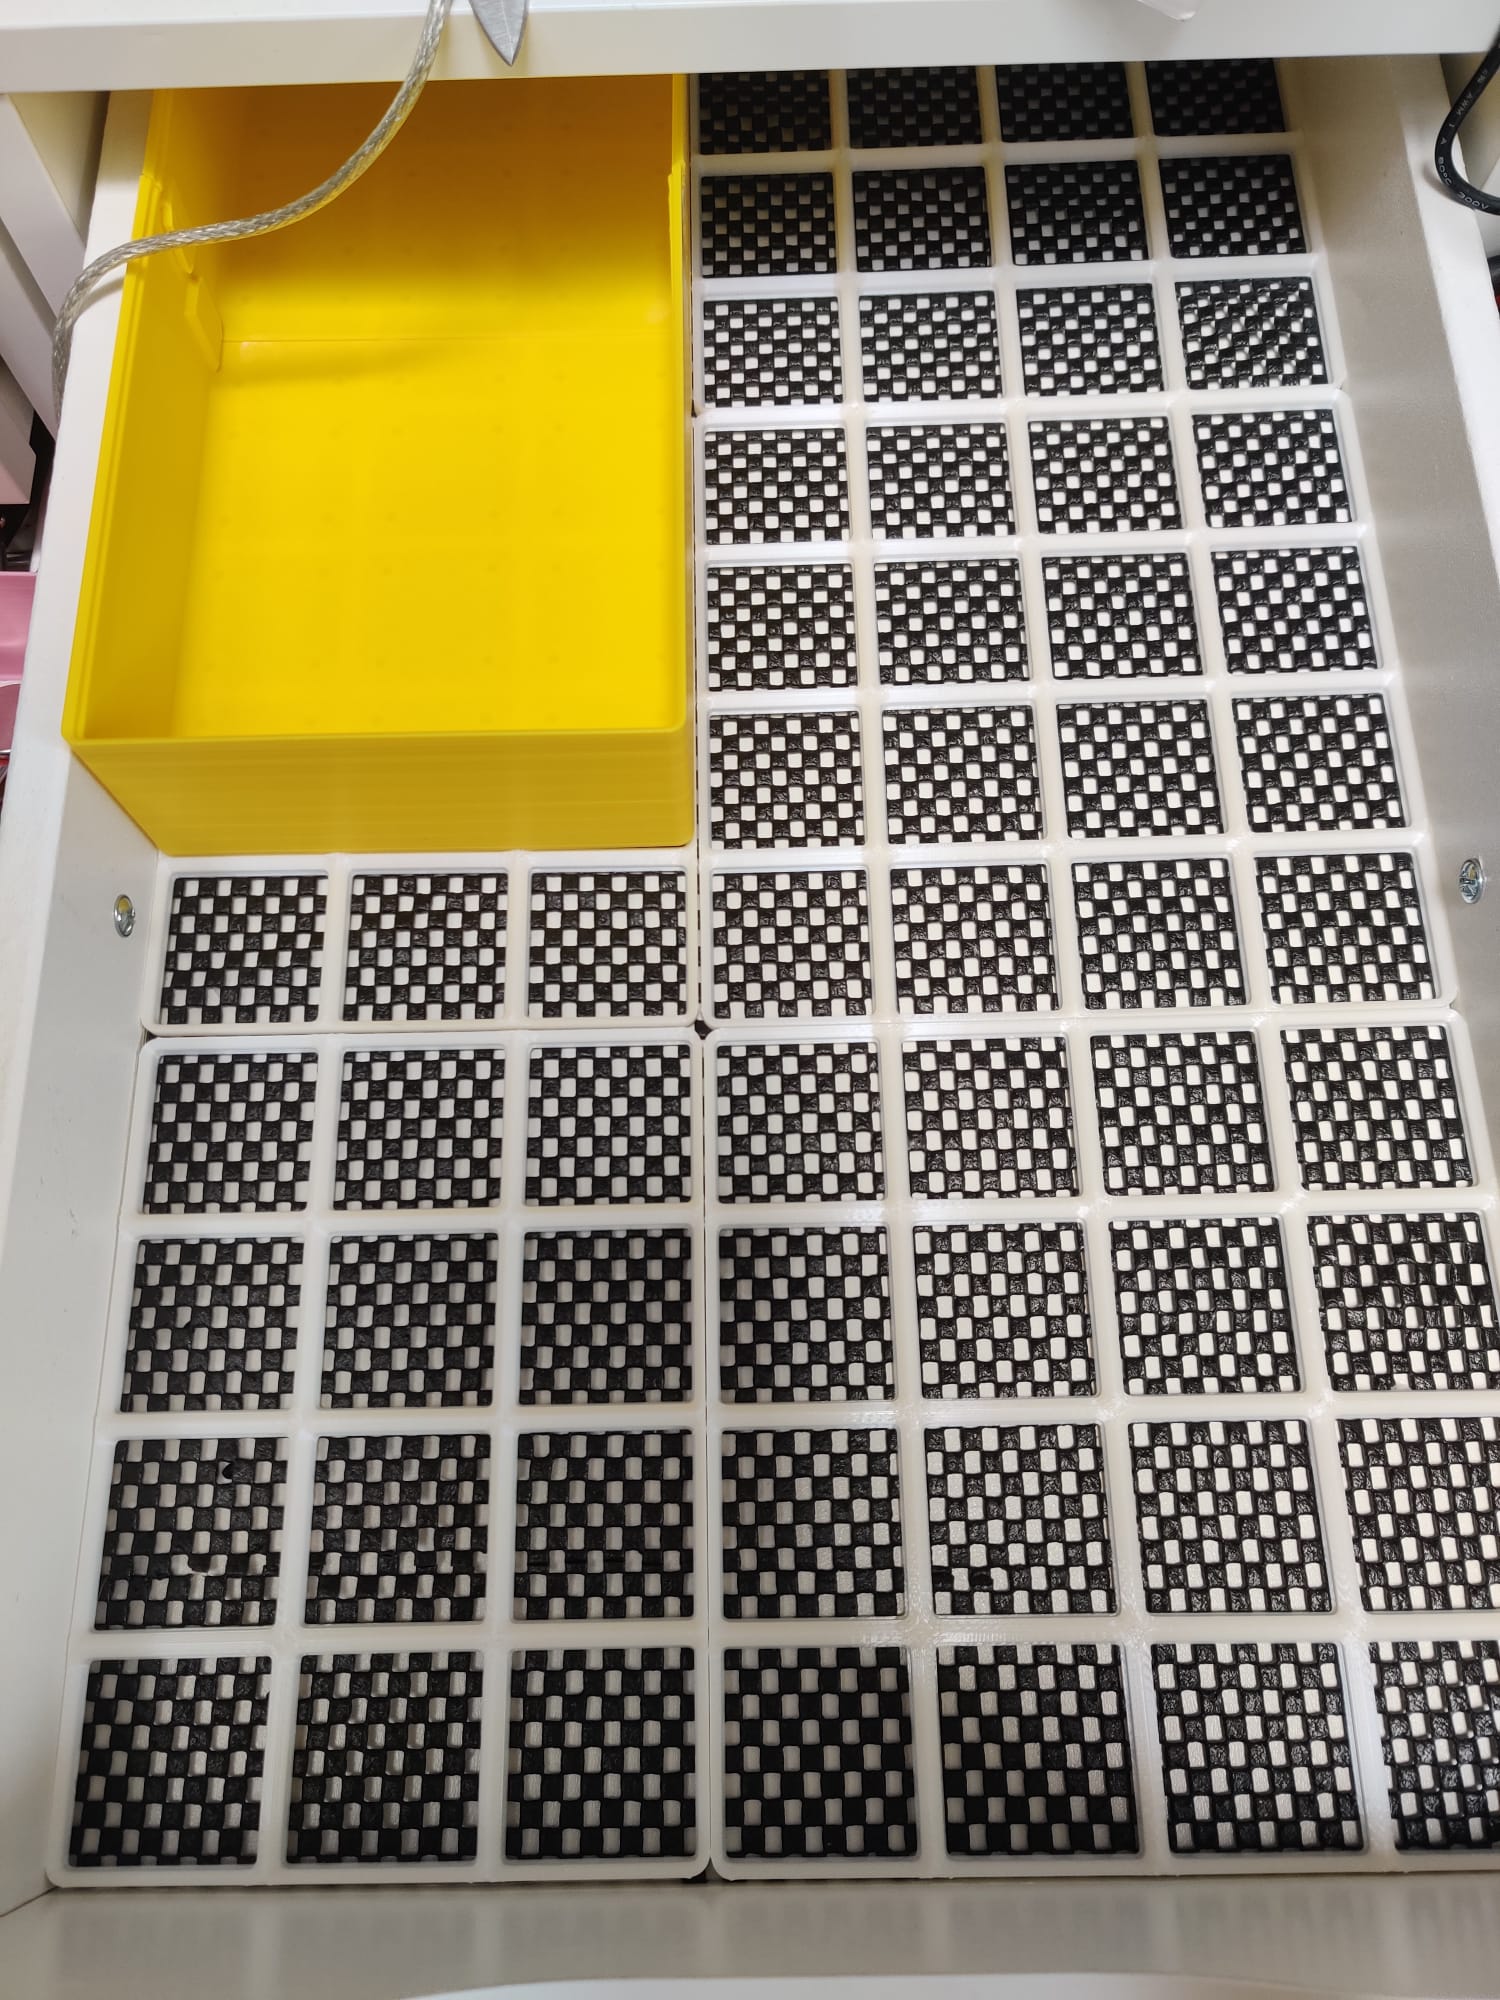
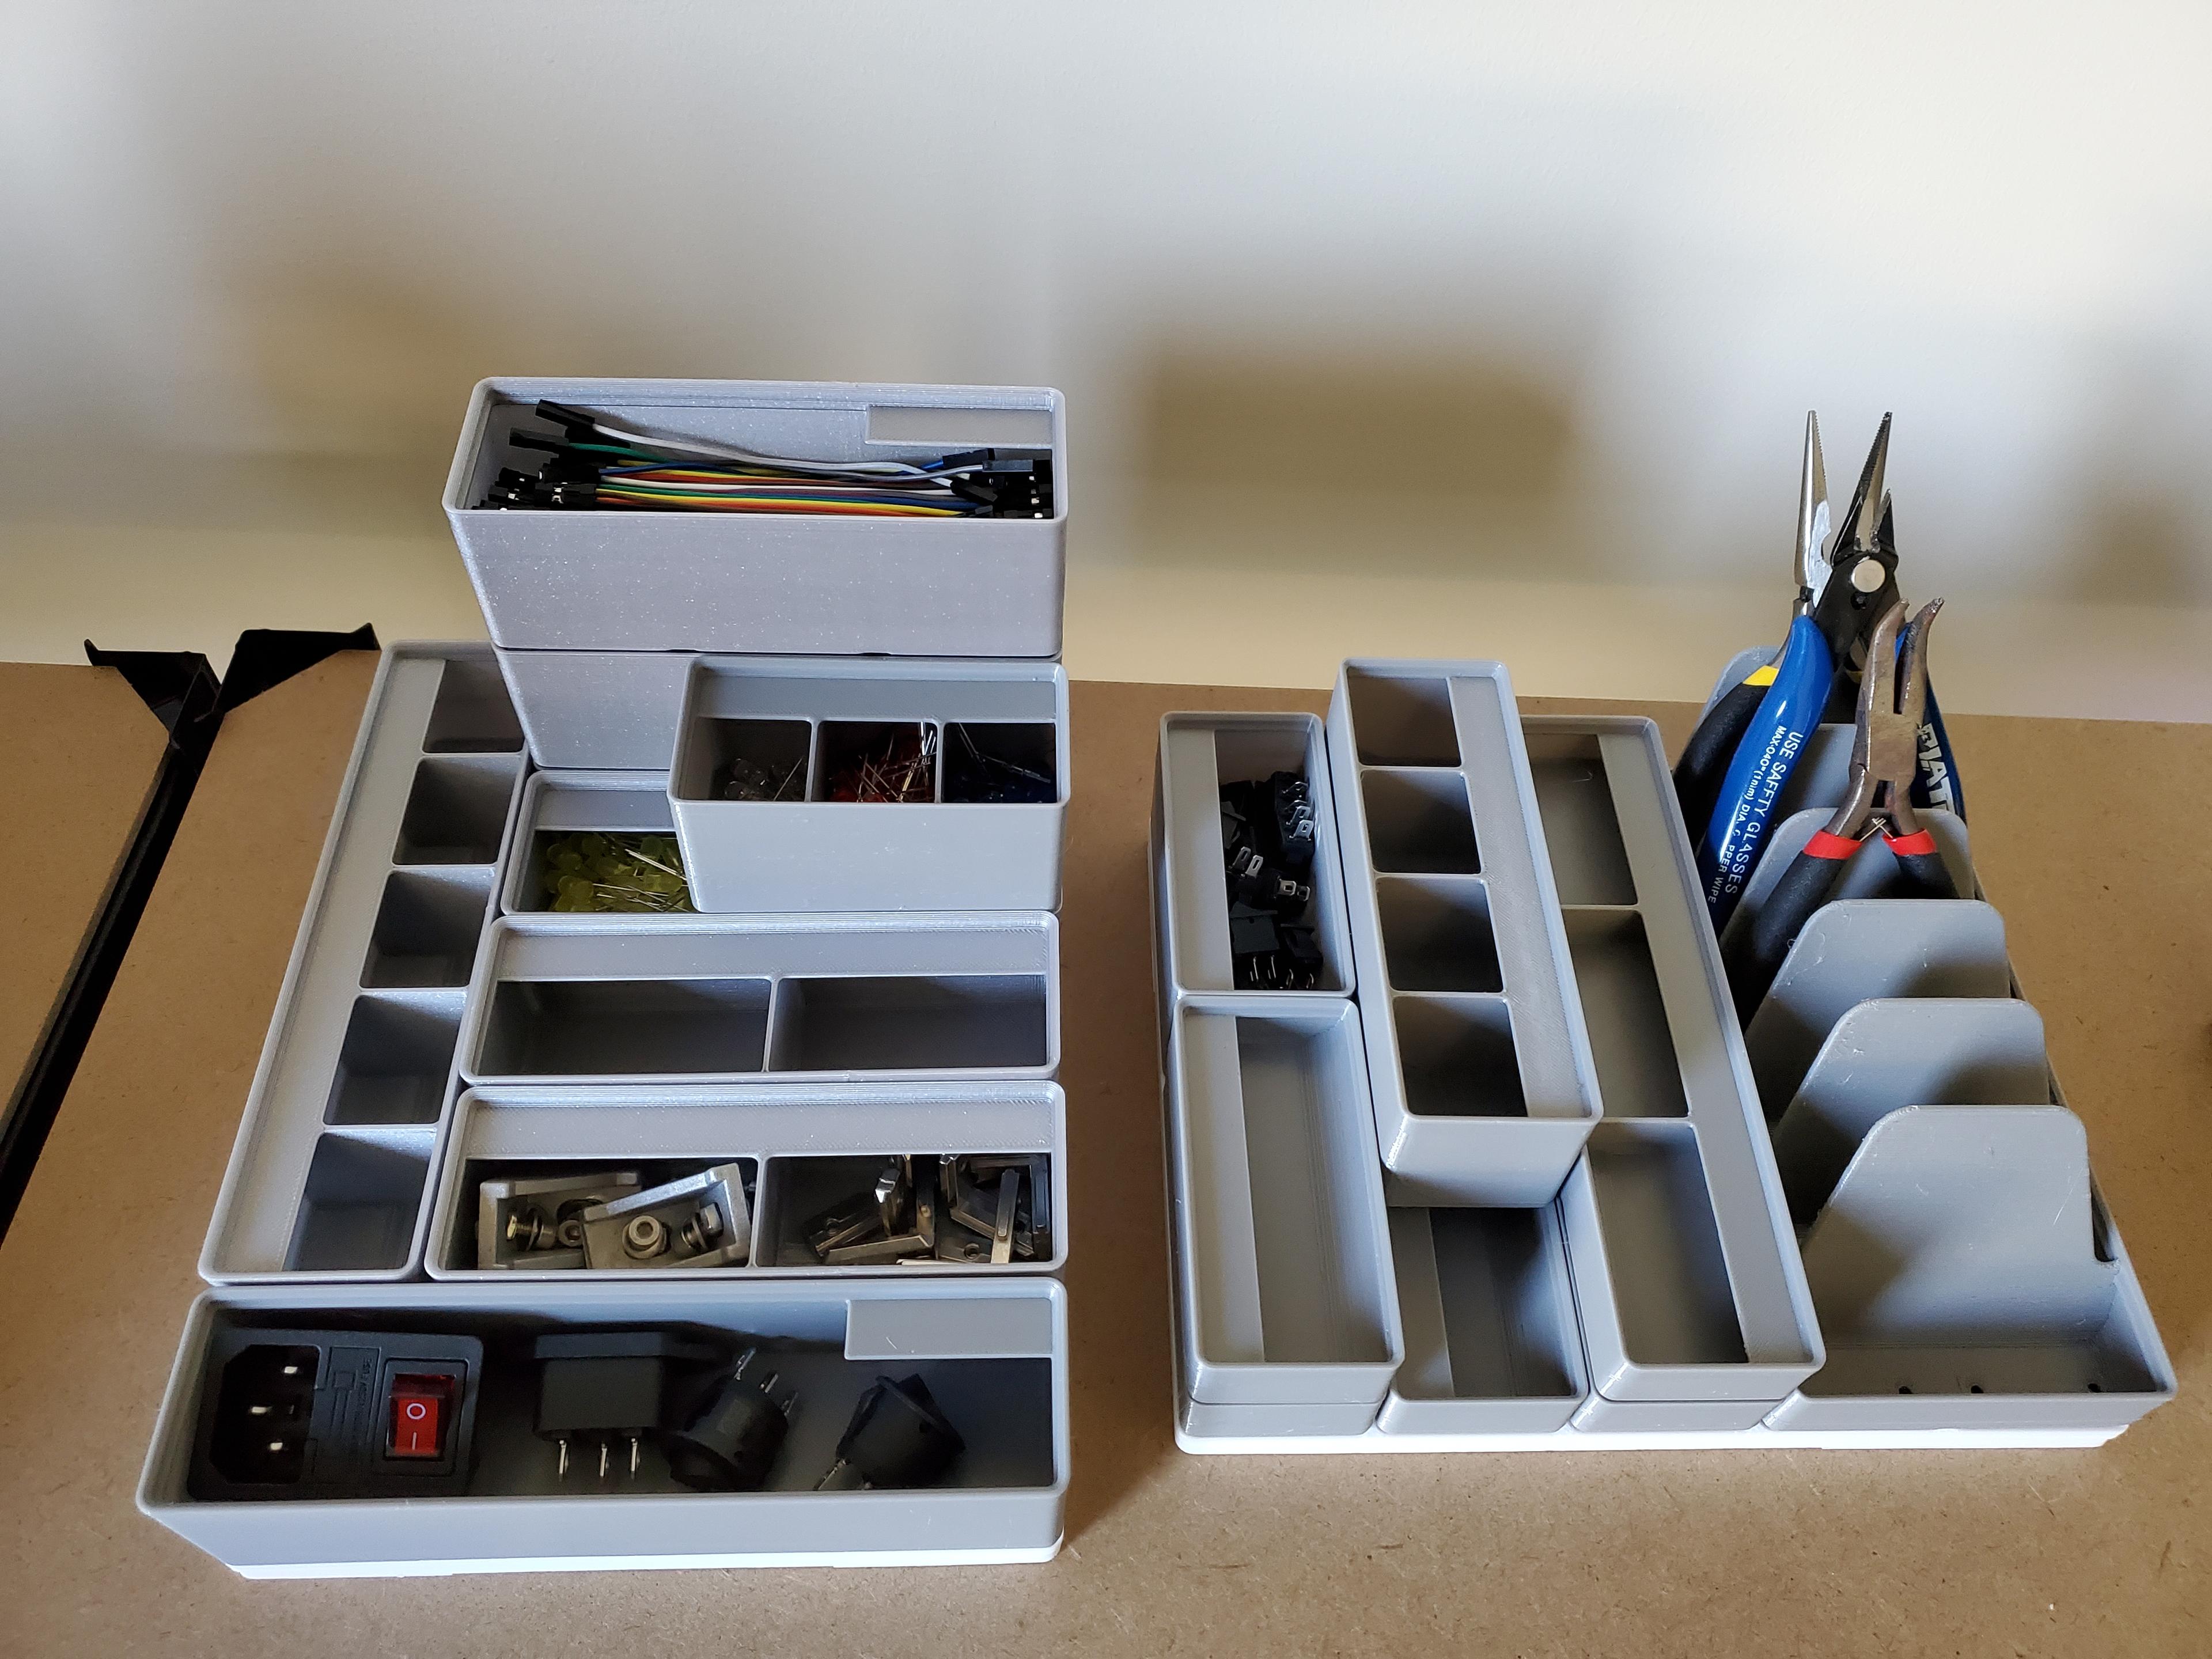
Build out the baseplates


Added the Ultimate Battery Holder.
This was a great find: Ultimate Battery Holder
This took a while to print. I decided on pink, as it's a nice colour.


The first time I have done this
I'm just winging this, based on previous experiments
Ingredients
300g Fresh Habaneros
400g Fresh Garlic cloves
500ml Cider Vinegar
1tsp Salt
1tbsp Brown Sugar (I only have brown sugar)
Method
Slice up the Habaneros (Using gloves to protect against burning you hards)
Slice up the Garlic
Add the Habaneros to a saucepan
Add the Cider Vinegar to the sauce pan
Bring to a boil and simmer for 2 mins
Transfer the Chillies and Garlic to a bowl
Add the garlic
Make sure the contents are covered
Transfer to Jars, when the temperature has cooled but not cold
Make sure the contents are covered by the liquid
This will protect it for bad bacteria and moulds
Label and date the jars
Job done

I got some Chilli Powder free because it was past date, from Shankill Market, in Dublin
I put this together and it was very thick. I added more Cider Vinegar and bottled it up
It tasted a bit gritty but after a few days, it was perfect
Hot, Garlicy, a bit smoky, a bit sweet and just salty enough
I had to add more vinegar, as it was still a bit thick
Now it is a pouring sauce
Very handy
I use it as a sauce and as an ingredient
I may have used a bit too much cider vinegar in it but I just give a bit of a shake and it's good.
Ingredients
4 x 100g Chilli Powder
6 x Bulbs of Garlic Pealed
7 x 350ml Cider Vinegar
5 x Desert Spoons of Sugar
5 x Tsp Salt
5 x Tble Liquid Smoke (A big glug)
Method
Put the Chilli powder in the Pressure Cooker with 4 bottles of Cider Vinegar
Bring to pressure and cook for 10 minutes
Then turn it off and let it depressurize naturally
Add the Liquid Smoke, Sugar and Salt
Blitz the garlic in in 1 bottle if vinegar and add to the pot
Rinse the blender with a bottle of vinegar and add to the pot
Stir like a fecker
I had to use a hand blender because it was a bit gritty
Bottle up

150g Strong White Flour
150g Water (Room Temp)
1 small pinch Yeast
Mix well.
Let the Poolish ripen on counter 4-24 hours, preferably at least 16

This recipe is based on adding a Poolish to the recipe in the The Ballymaloe Bread Book White Yeast Bread pg. 38
Remaining packet of Yeast and One more
275 ml Warm Water
530g Strong White Flour
2 tsp Salt
15g Sugar
25g Olive Oil
Dissolve the Poolish in the water.
Add the Yeast
Add the Flour
Add the rest.
Turn on the Bread Maker to Dough Setting.
When ready, round the dough and put into the Bannaton and cover with a cloth.
Turn on the Oven to 190°C
Put in the Dutch Oven.
Cut a groove in the top of the bread using your favorite method, Lame or Scissors.
After 40 mins or more, put the dough onto some Baking Paper.
Put it into the Dutch Oven and Bake with the lid on.
After 18 mins, remove the lid.
Cook for a further 30 to 40 mins.
Remove bread from the Dutch Oven and cool on a rack.
Consume at your leisure.


